- It's a craft and you need time to make it before your schedule gets crammed with holiday parties, concerts, shopping, baking, decorating, etc.
B. I wanted to take part in the latest Pintester Movement which is Christmas themed this time
I first pinned these ornaments even before I heard about the Christmas ornament theme because I saw them and I was all "OMG, THOSE ARE SO AWESOME!!!! MUST MAKE THEM!!!!!!!!!!" then forgot them until this came up.
So finally, last night, Makayla and I got ready to make them.
First, we sorted through her art roll (which is my amazing idea for organizing writing implements, if I do say so myself) and took out all the broken pieces of crayons. Then we peeled all the labels off the crayons and took the tops out of clear glass ornaments.

The original post says to use a hair dryer to heat the bulbs but I have approximately 27lbs of hair and it takes about 3 hours to dry it with a hair dryer so I wash it at night and let it air dry. After the last hair dryer I had crapped out I didn't bother to replace it. So instead I decided to heat the ornaments up in my amazingly wonderful anniversary present counter top oven. I started out by setting it at 150F.

I let the preheat for a couple minutes while Makayla picked out some colors to go together. Then we broke off some chunks, put them in one of the ornaments and put it back in the oven.
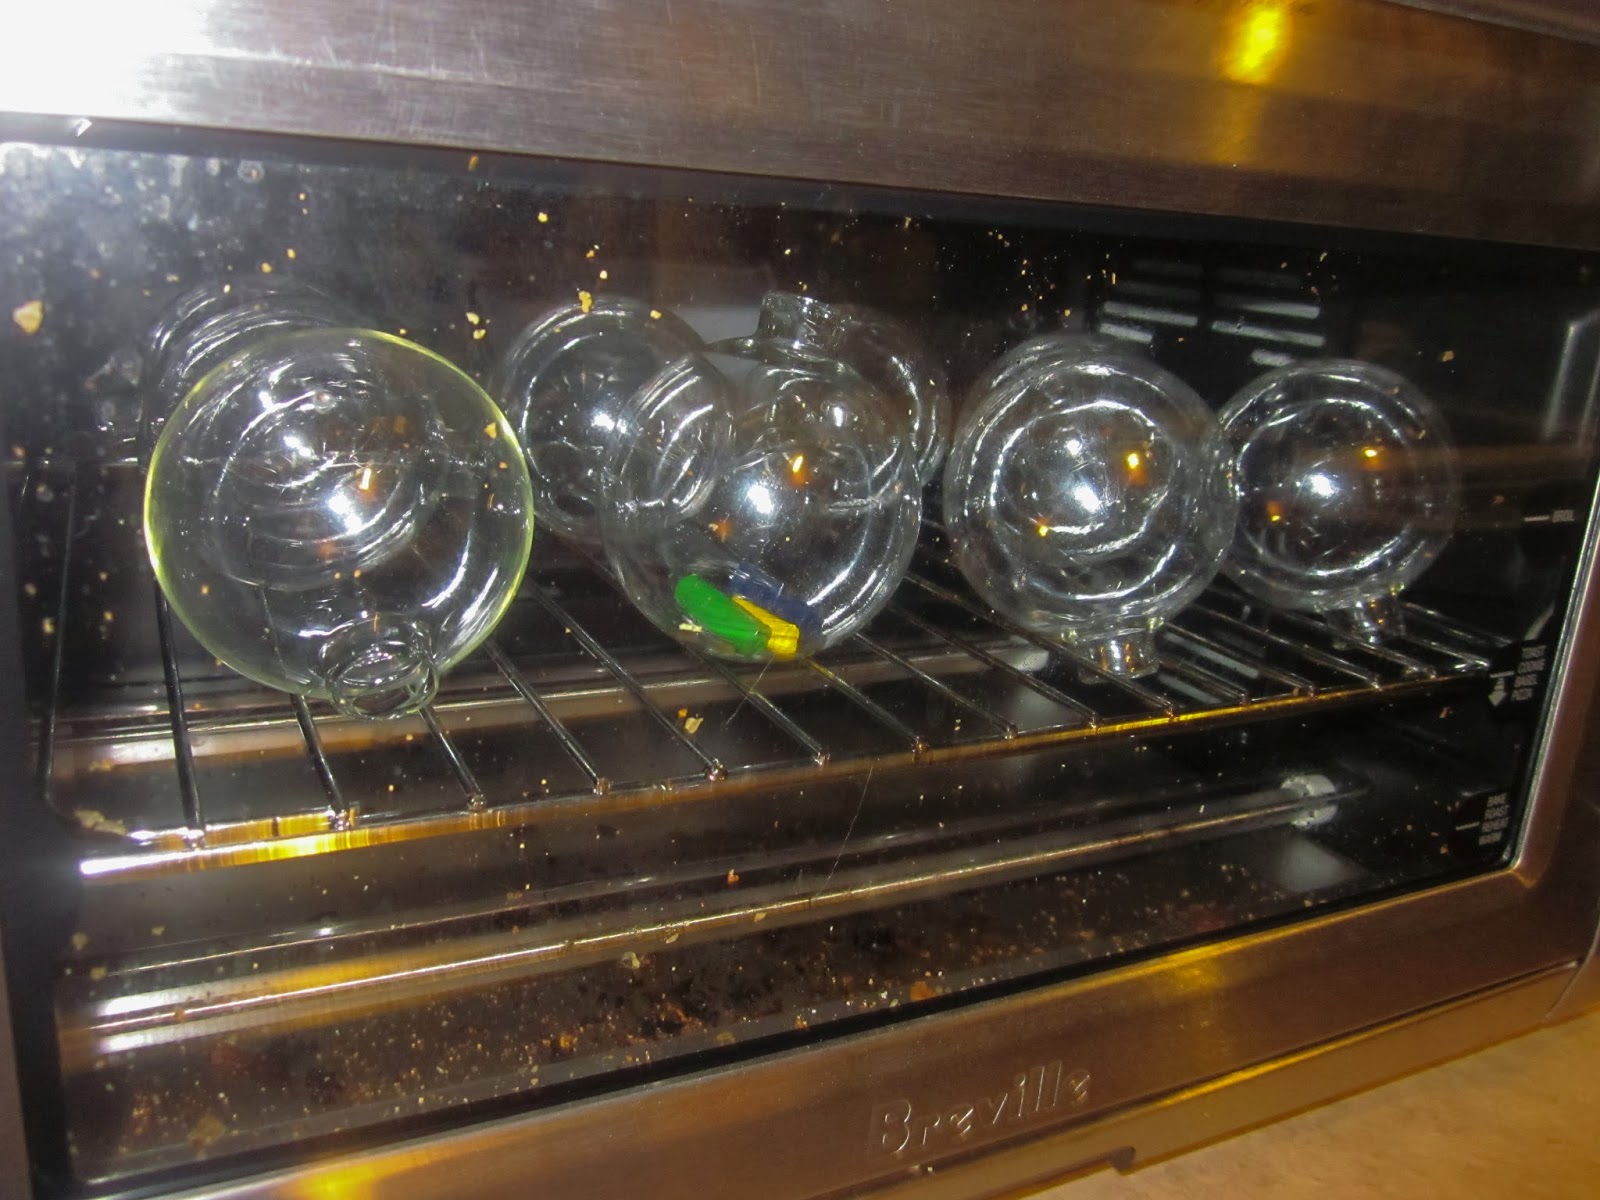
We waited for the crayons to melt.

Cranked the temperature to 250F and waited some more until finally they started to melt. I waited until the crayons were mostly melted and then grabbed the ornament and swirled the hot wax around until the entire inside was coated. I should mention that to most people, this would probably be too hot to do bare handed. I'm not most people. I lost sensitivity to heat after spending a few years in powder coatings and being too lazy/ impatient to find the tongs to take the hot panels out of the oven after curing. So you might want to grab them with a towel or something. Definitely don't let your little fellas do this part. They cooled down pretty quickly and then we put the tops back on. They actually came out really great!


I particularly loved how the white crayon added really nice highlights to the darker colors. Unfortunately, it seems that white was not a commonly broken crayon so we only had one of those. We tended to stick to three colors per ornament but more might be nice too, just keep in mind your color mixing or you might end up with a lot of brown ornaments!
Overall, I am thrilled with how awesome they turned out! We still have a sack of broken crayons to use so maybe I'll get some more clear glass ornaments and make another batch!
So finally, last night, Makayla and I got ready to make them.
First, we sorted through her art roll (which is my amazing idea for organizing writing implements, if I do say so myself) and took out all the broken pieces of crayons. Then we peeled all the labels off the crayons and took the tops out of clear glass ornaments.
 |
| Photo bomb by Makayla |
I let the preheat for a couple minutes while Makayla picked out some colors to go together. Then we broke off some chunks, put them in one of the ornaments and put it back in the oven.
We waited for the crayons to melt.
Cranked the temperature to 250F and waited some more until finally they started to melt. I waited until the crayons were mostly melted and then grabbed the ornament and swirled the hot wax around until the entire inside was coated. I should mention that to most people, this would probably be too hot to do bare handed. I'm not most people. I lost sensitivity to heat after spending a few years in powder coatings and being too lazy/ impatient to find the tongs to take the hot panels out of the oven after curing. So you might want to grab them with a towel or something. Definitely don't let your little fellas do this part. They cooled down pretty quickly and then we put the tops back on. They actually came out really great!
Overall, I am thrilled with how awesome they turned out! We still have a sack of broken crayons to use so maybe I'll get some more clear glass ornaments and make another batch!
 |
No comments:
Post a Comment